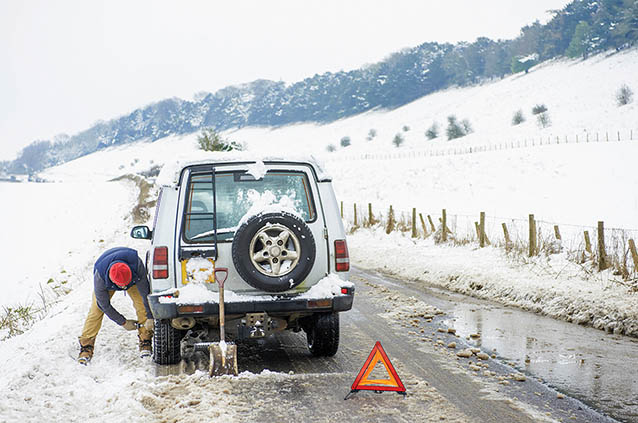
Any number of issues can affect drivers while on the road. Few issues may prove more disruptive than a flat tire. Flat tires can delay road trips and adversely affect commutes, all the while posing a significant safety hazard. Changing a flat tire is a valuable skill that all drivers should have in their repertoire, and this simple guide can help motorists hone their tire-changing skills.
• Take stock of your tire-changing tools. Vehicles typically come with the tools drivers need to change a flat tire, especially if the car or truck was purchased from a dealership. In addition to a spare tire, the tools drivers will need include a jack and a lug wrench. Tire wedges are not absolutely necessary, but when placed in front of or behind the tires, they can prevent rolling while changing the tire. A small flashlight kept in the glove compartment or center console storage also can be helpful, but drivers also can download a flashlight app on their smartphones to provide some extra illumination when changing a flat at night.
• Turn on your hazard lights and find a safe place to pull over. The moment drivers recognize a tire is flat, they should turn on their hazard lights and find a safe place to pull over. Avoid changing tires on narrow shoulders, as that leaves you and your passengers vulnerable to oncoming traffic. If you must, drive on the rim until you can find a safe place to pull over and change the tire. If possible, pull into an empty parking lot. Flat ground is ideal, as it can prevent the car from rolling while the tire is being changed.
• Apply the parking brake upon stopping. The parking brake can reduce the risk of the vehicle rolling while the tire is being changed, so always apply it before getting out of the car.
• Place the wheel wedges in the appropriate place. If you have wheel wedges, place them in front of the front tires when changing a rear tire and behind the rear tires when changing a front tire.
• Remove the hubcap. Some vehicles are equipped with hubcaps that cover the lug nuts. If that’s the case, then remove the hubcap before lifting the vehicle with the jack. If that’s not the case, simply loosen the lug nuts, which may require a little extra effort since lug nuts tend to be on very tight. At this point, it’s easier to loosen the lug nuts than remove them entirely, which can be done once you’re ready to remove the tire.
• Put the jack to work. Now it’s time to place the jack and ultimately lift the vehicle. The experts at Bridgestone Tire note that many modern vehicles now have areas of exposed metal on the bottom designed specifically for jack placement. Consult your owner’s manual to find this spot, and then raise the vehicle until the tire is about six inches from the ground.
• Remove the lug nuts. Once the tire is off the ground, remove the already loosened lug nuts, ideally placing them in a small receptacle or bag so they won’t roll away.
• Remove the flat tire. Using both hands, grip the tire by the treads and gently pull it off. Bridgestone recommends placing the tire on its side so it does not roll away.
• Mount the spare. When mounting the spare, gently push the tire on until the lug bolts can be seen through the rim.
• Tighten the lug nuts. One by one, place the lug nuts back on the bolts and tighten then by hand. Tighten them as much as possible so they’re able to hold the spare on as effectively as they held the original tire in place.
• Lower the vehicle. Patiently lower the vehicle using the jack until the spare tire is resting on the ground but not with the full weight of the vehicle on it. At this point, Bridgestone recommends drivers use their full body weight to tighten the lug nuts once more before fully lowering the vehicle. Once the vehicle has been lowered, some drivers may notice the hubcap does not fit over their spare. That’s alright, as it’s safe to drive without a hubcap covering the spare. In such instances, place the hubcap in the trunk when you’re putting back the jack, wrench and flat tire. But if the hubcap does fit over the spare, put it back on.
• Check the pressure on the spare tire. A portable inflator can indicate the tire pressure in the spare and inflate it if need be. Drivers who cannot determine the pressure in the spare should drive slowly to the nearest service station and have the pressure checked or even the spare changed to a new tire, if possible.


